
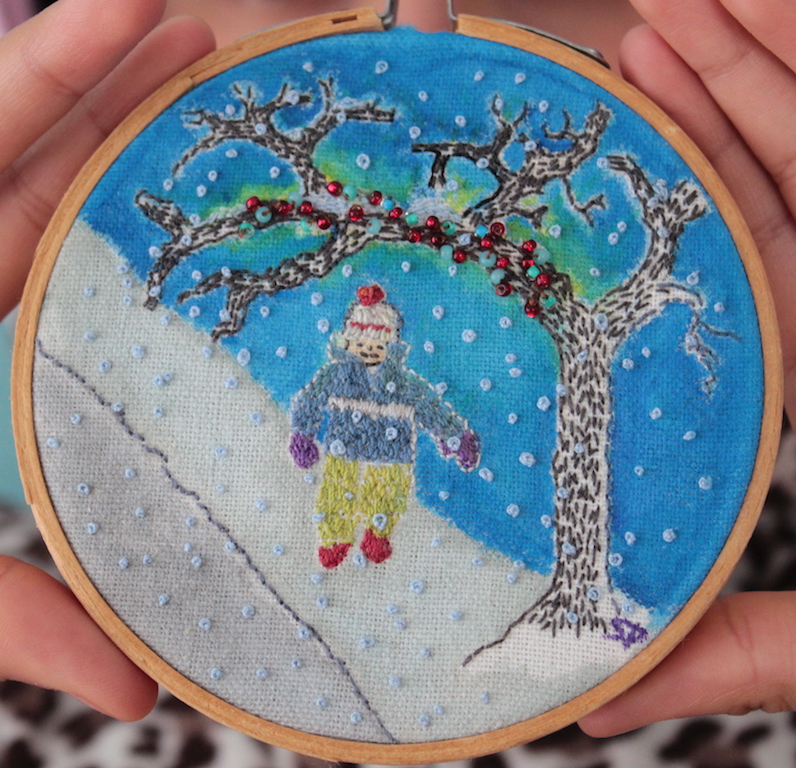
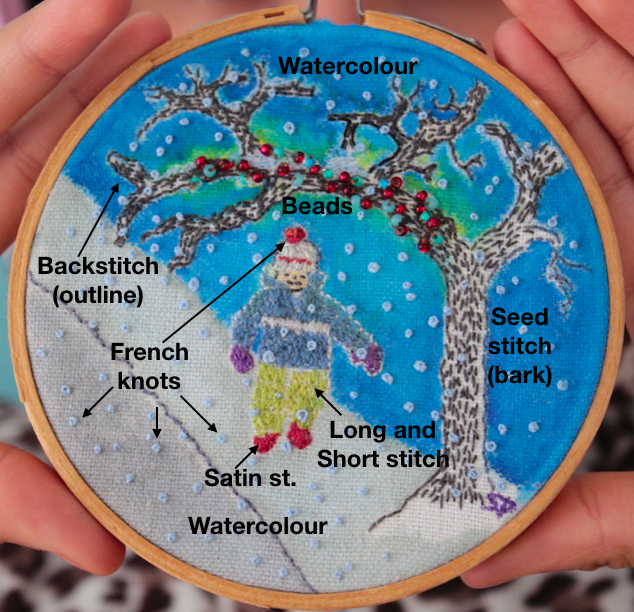
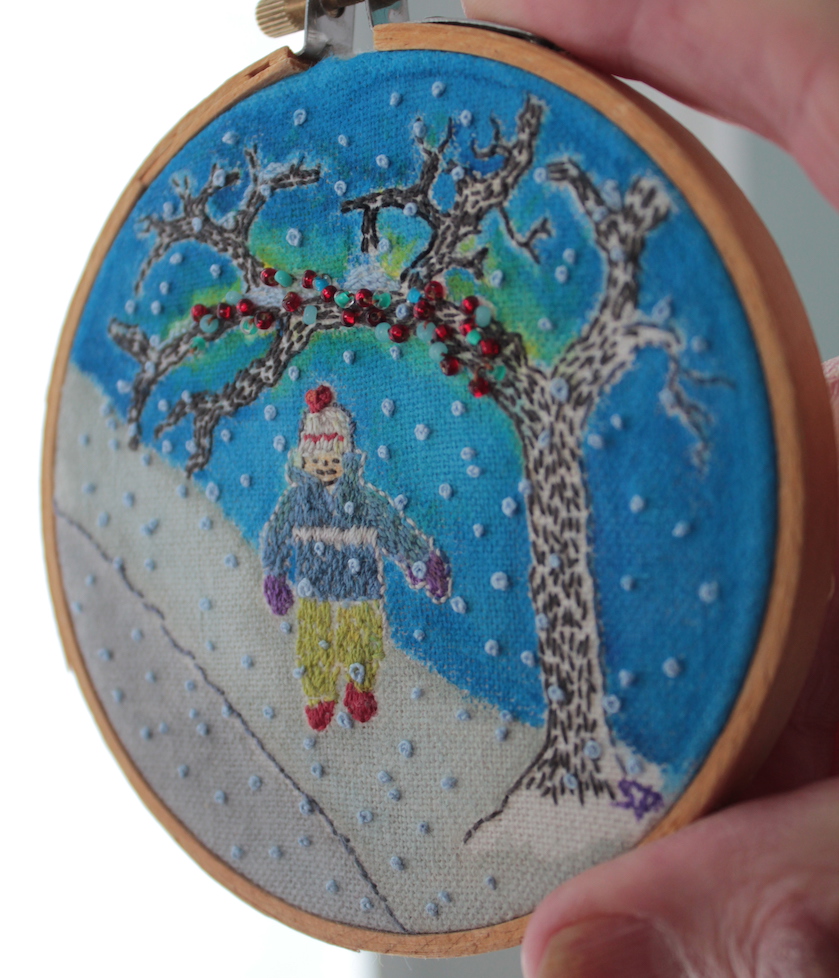
Winter Stroll (2019).
Embroidery, watercolour paints and glass beads on fabric.
Finished this piece almost entirely while sitting in various kid classes. It’s my first experiment with painting and beads added to thread embroidery. I actually set it aside for a year while I started building my jazz portfolio, and reached for it when it came time to roost in kid classes in the winter again .
Pictures
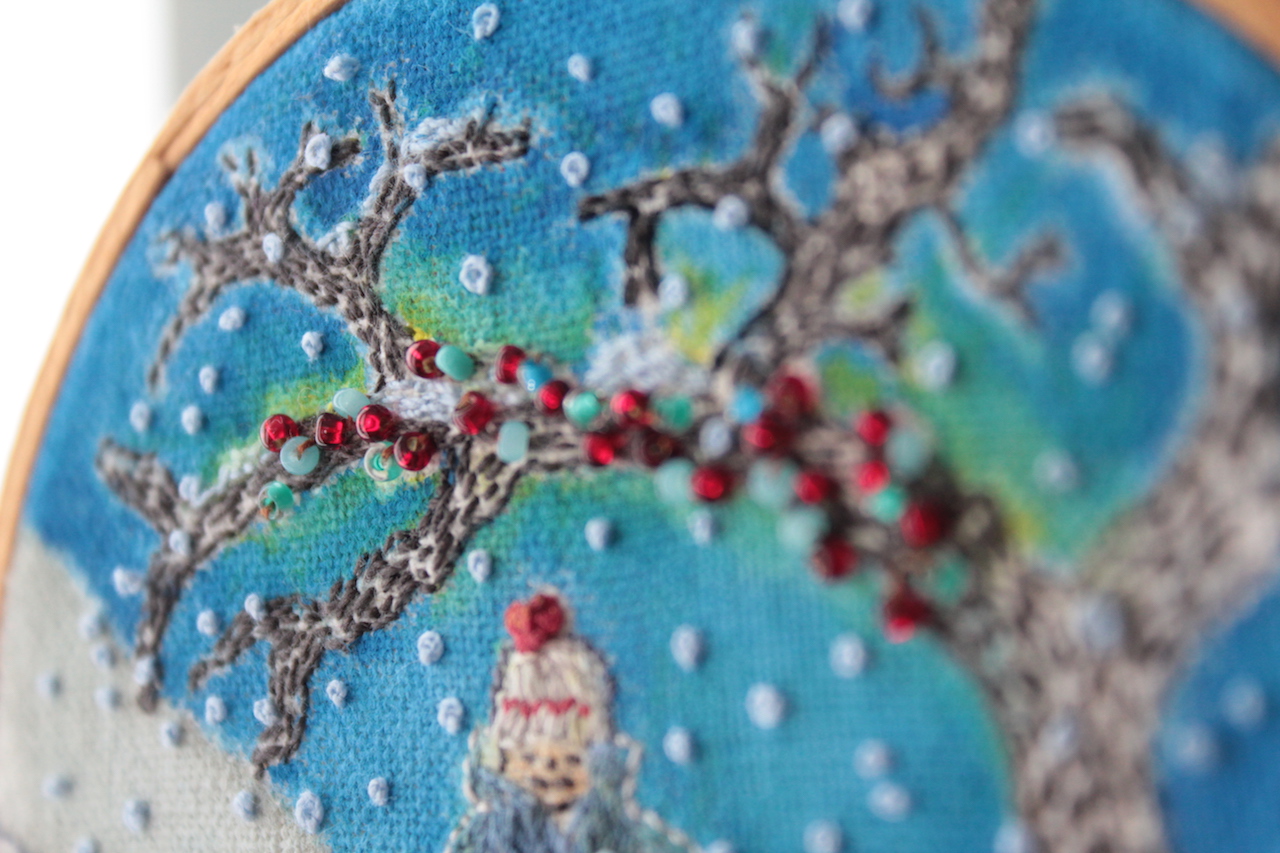 Close-up of beads. See the thread connecting them.
Background
The image is from a photo I took of my erstwhile 6yo walking down our street last Winter. The element of the bare winter tree is present here as it is in my other works (like “Room with a View” from 2016 and the lino-carving from 2015). Christmas lights seemed to be a natural element to add the beads.
Here is an early sketch from January 2018:
Materials
- Thread and embroidery needle. I continue to use the Sulky 12 wt embroidery thread because I don’t need to separate strands, reconstitute and thread as one would with standard floss.
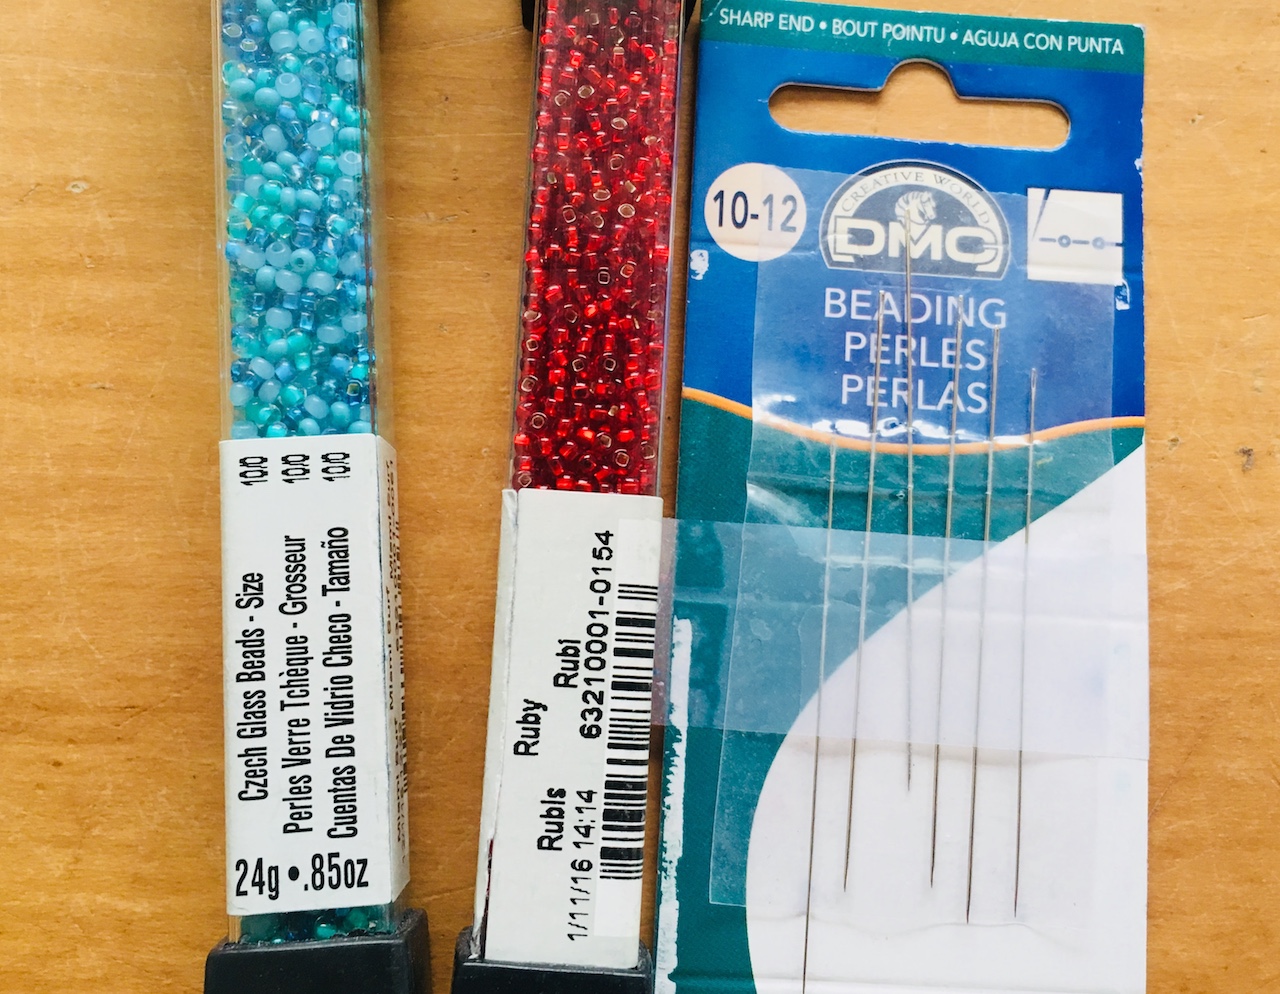
- Glass beads and beading needle. If you are beading, USE BEADING NEEDLES. These don’t increase in width as you go from tip to shaft, and trying to bead with an embroidery needle will cause the beads to get stuck.

-
The beads I got at Michael’s craft store. They’re 10/0 size Czech glass beads. Note that bead sizes go up with smaller beads. These are size 10 and I still found them a bit large for the piece. In the uture, I would try even smaller sizes in the future.
- Watercolour paints and brushes. I just used the traveler’s watercolour kit I had at home, to avoid buying more supplies for this project.
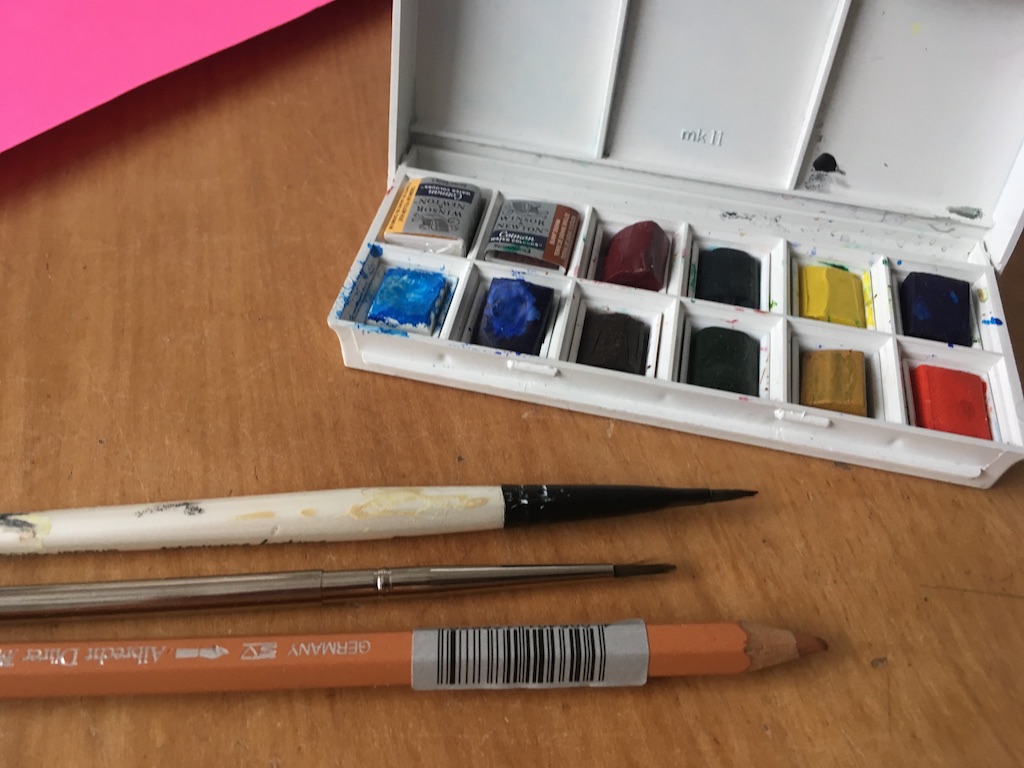
- Disappearing fabric marker or other pens/pencils for drawing image onto muslin
- Fabric. I bought cotton tea towels for embroidery years ago. Realised nobody was honestly going to use tea towels that had been embroidered, and cut up the fabric for various projects. Voilà.
Composition
These are pretty straightforward, I won’t go over them. I learnt to embroider from Diana Rupp’s book, which I recommend, but you could just as well learn them from tutorials online.
Painting the canvas
Getting the shade I wanted wasn’t too hard. Things to keep in mind for next time:
- Consider painting the canvas before adding the embroidery.
- Go from light to dark. When adding the glow from the tree, I made the mistake of painting sky and then adding glow. The yellow glow combined with blue sky resulted in GREEN! With some guidance from my local art store, I was able to wash out the ink in sections.
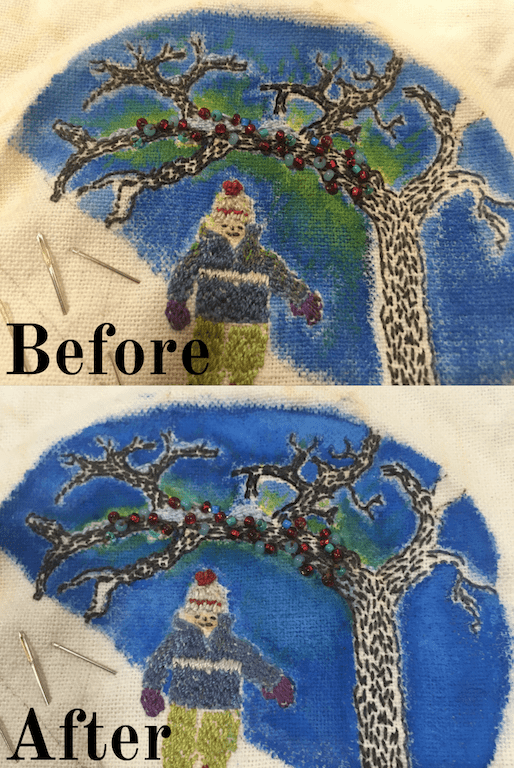
- When picking a shade to paint, don’t lose the contrast between the paint and the embroidery thread. In the project above, I had dark blue sky next to blue snow jacket. The boy merged in with the sky. Lighten the sky with some white, and add a white outline to the boy for good measure, and the result is much better.
In this case, lightening the colour made the sky look more aglow, which was apt for the Christmas lights and, in my opinion, makes the piece.
Beading
Very straightforward, not much to say. Thread a single thread, push needle to front of canvas where you want the bead placed, put on a bead (remember: use a beading needle), push needle through to the back, making a tight stitch and securing the bead to the fabric, and repeat with another bead.

Finishing
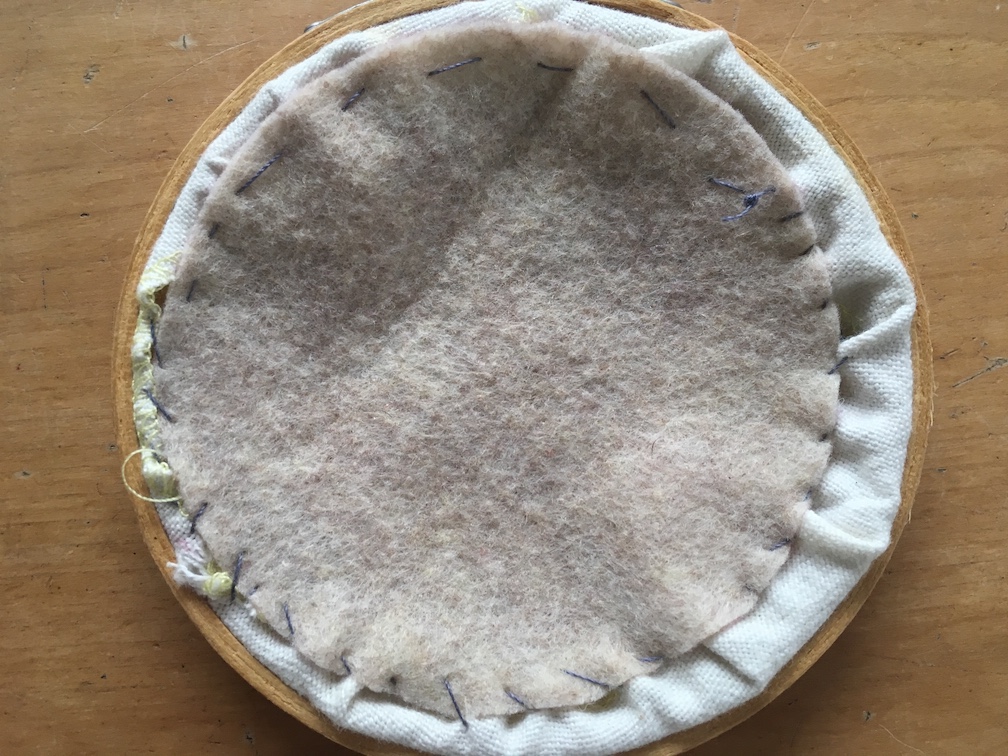
I really need to learn to cut enough of a margin around the fabric. In any case, the edges were serged to collect frayed edges (pinking shears or zigzag stitch also work). Finally I sewed the edges in with a cover of felt.
Here is the back of the work, so you can see what that looks like:

Here is the work with the edges serged.
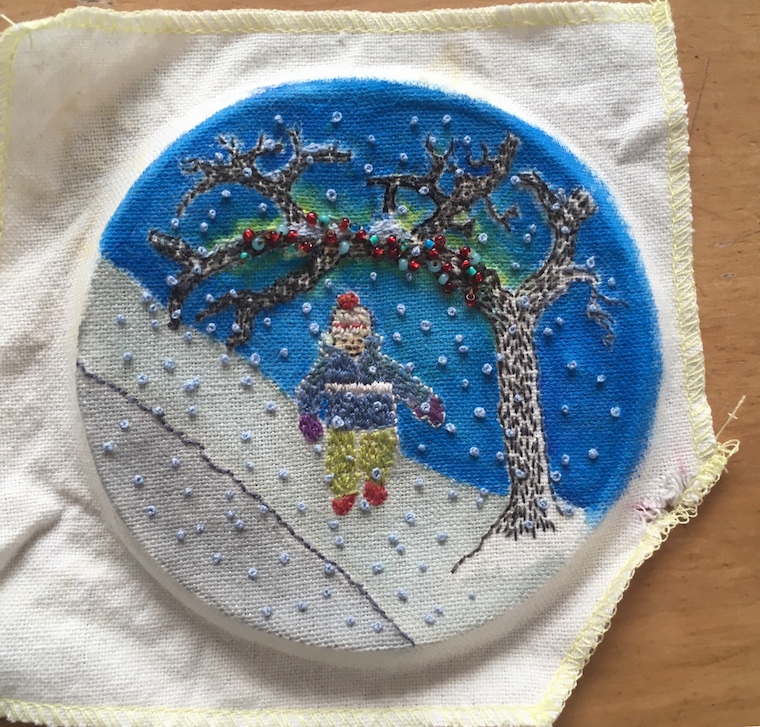
And here it is with the ends tucked in.
And that’s it. This was way more fun than I had thought.
To treat myself for finishing my “ambitious” project, I bought more beads (but of course). Have a few ideas about the next project (because kid classes aren’t going to be over any time soon) , so I need to home in on something. Stay tuned!