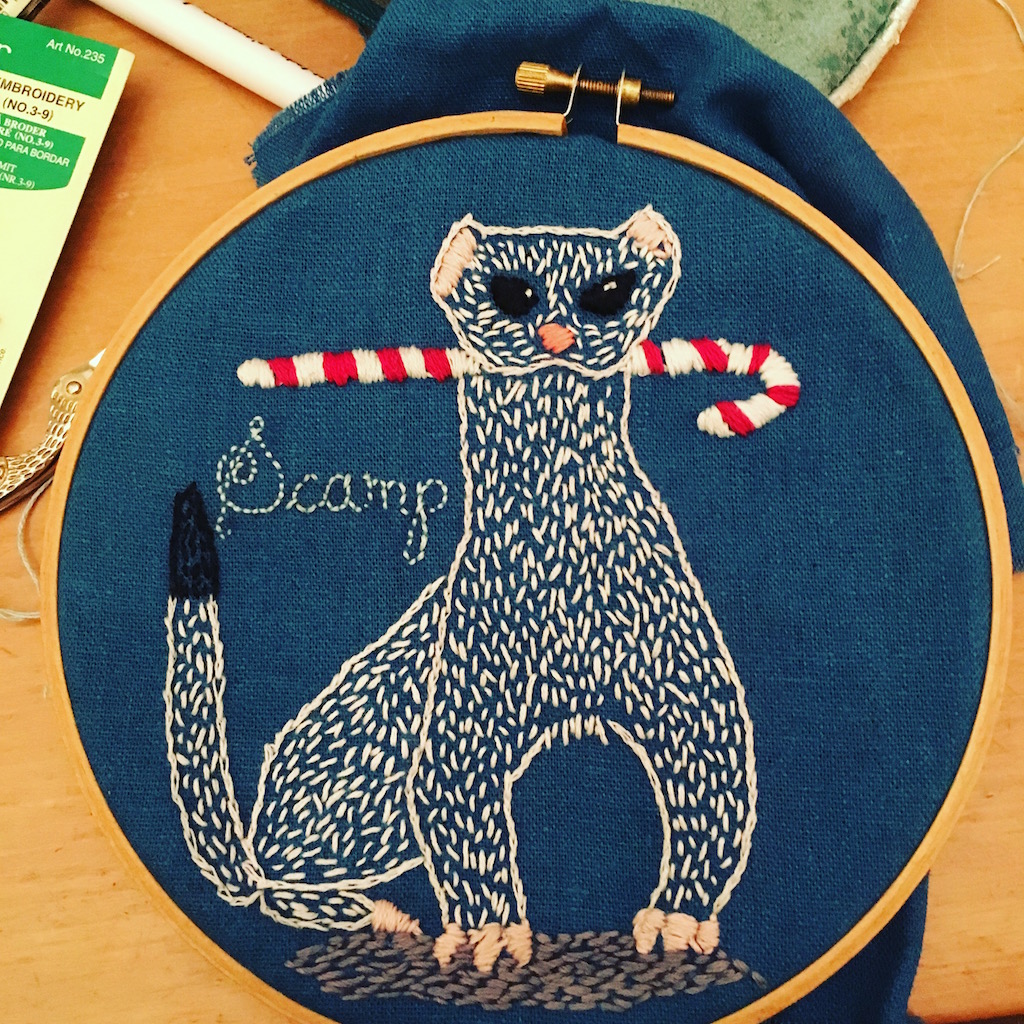
 For a year now, we have had a very naughty ferret in the house. You could say that the house is in the grips of ferret mania. So for her birthday an apt present was an embroidered ermine for her room.
I used split stitch for the outline, seed stitch for the fur, and satin stitch for all the solid coloured regions.
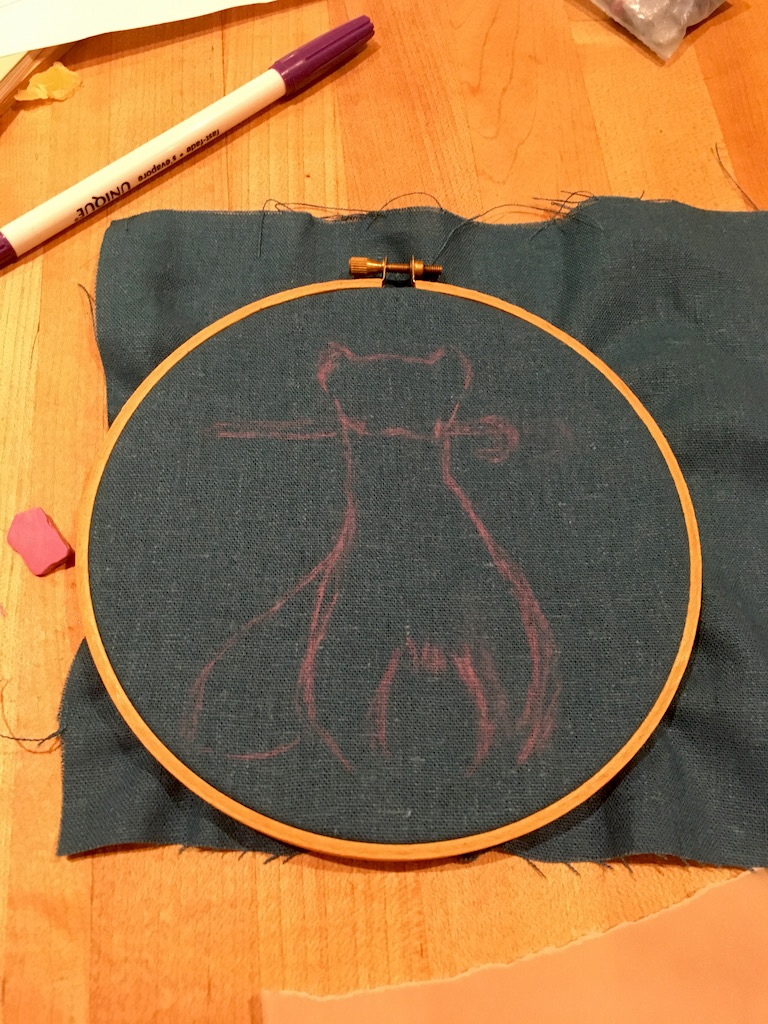
It was my first embroidery on dark fabric, so the heat transfer pencil didn’t work (as I found out). The image just didn’t show up dark enough. So this time I ended up freehand-ing the image with tailor’s chalk(!). Which is my excuse for overlooking the fact that I’d made the design on one corner of my square, instead of centering it so there was enough of a border on the side. I also found this idea of using white carbon paper, which I may use next time. Here is the initial sketch. The candycane-in-the-mouth idea is from an ermine picture off the internet.
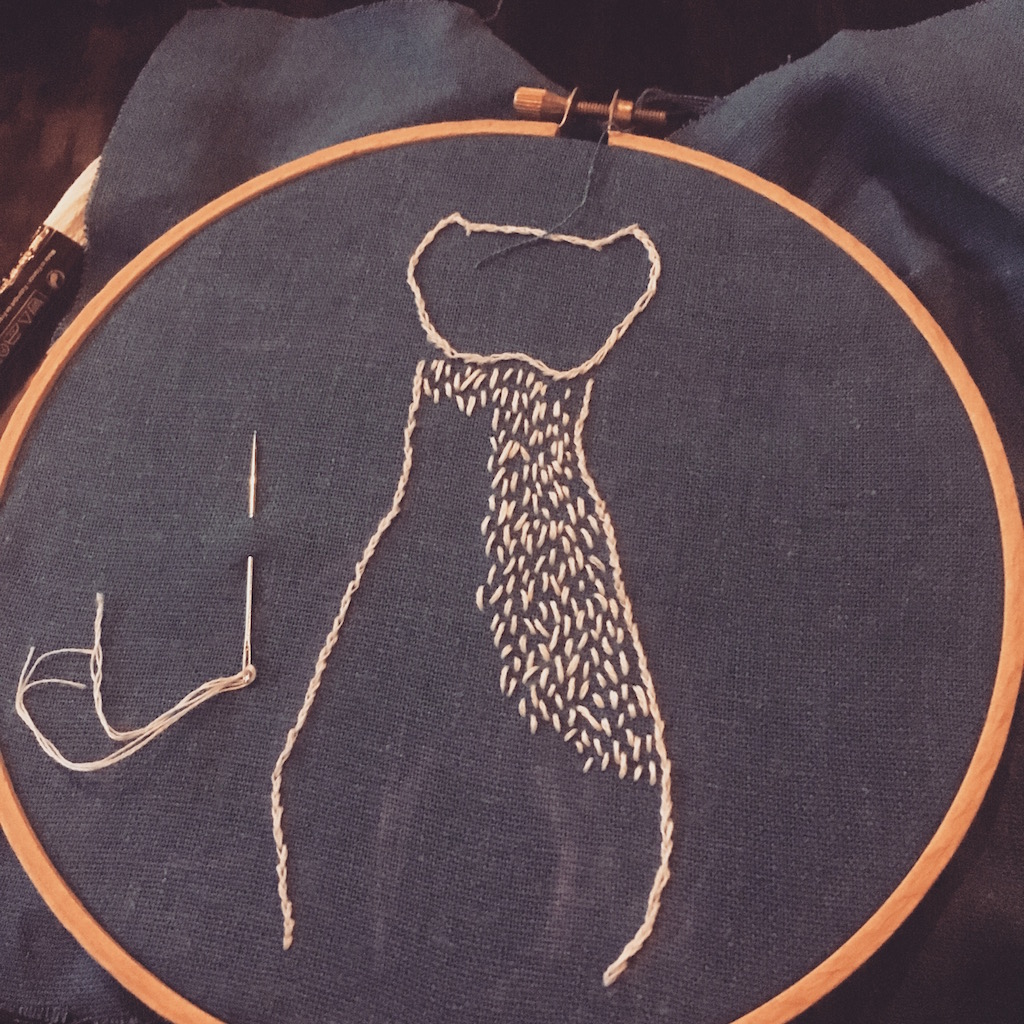
Here is the work in progress. I did the eyes over after the first set turned out too small.
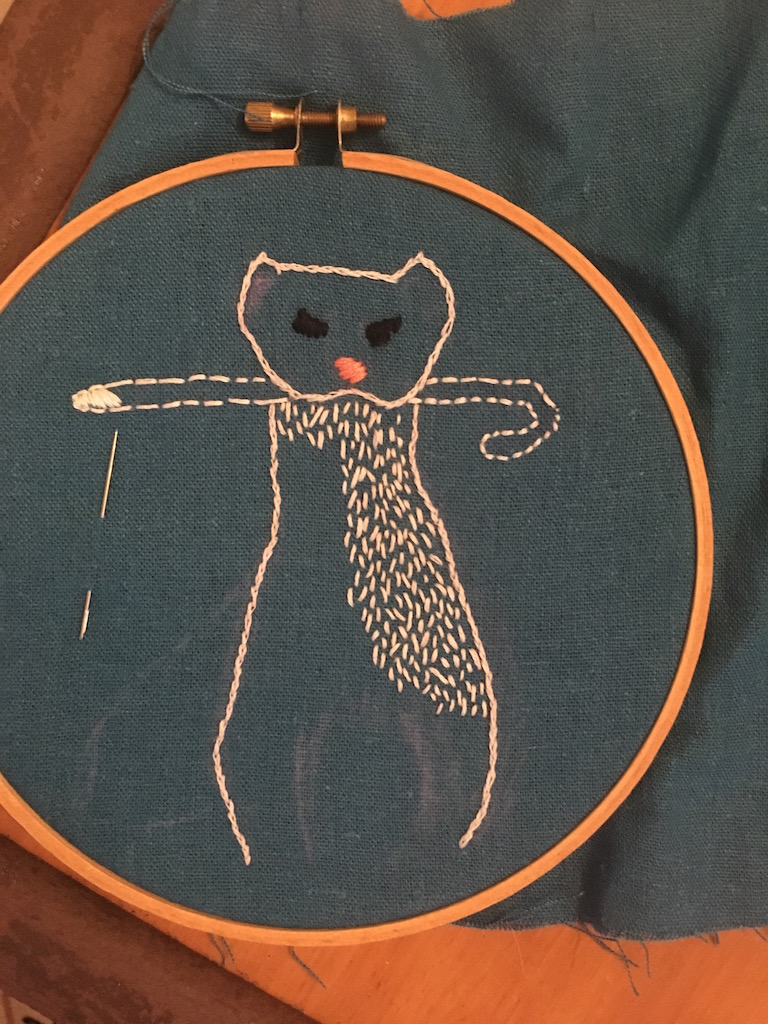
Here the animal looks a little more well-fed, with the twinkle in his eye and the pink in the ears. No paws yet, or tail.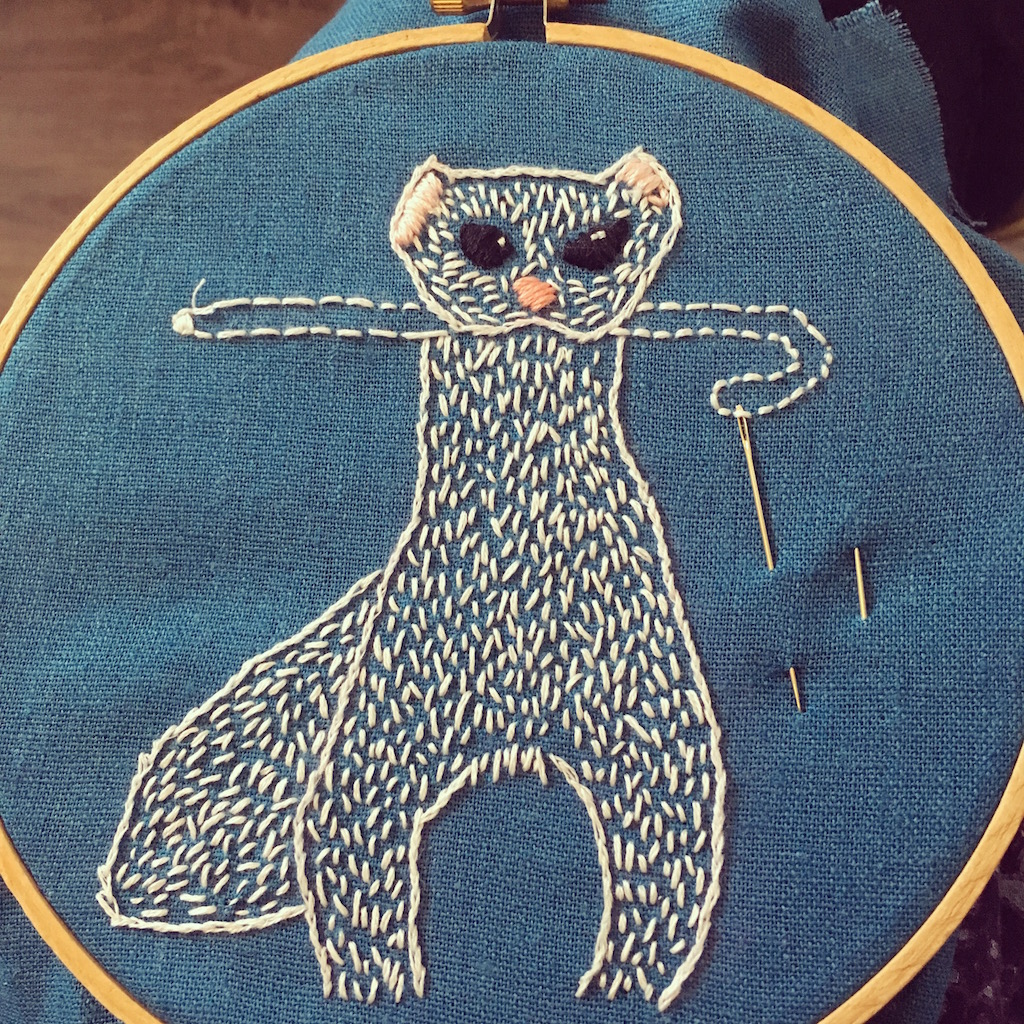
And the candy cane is coming together…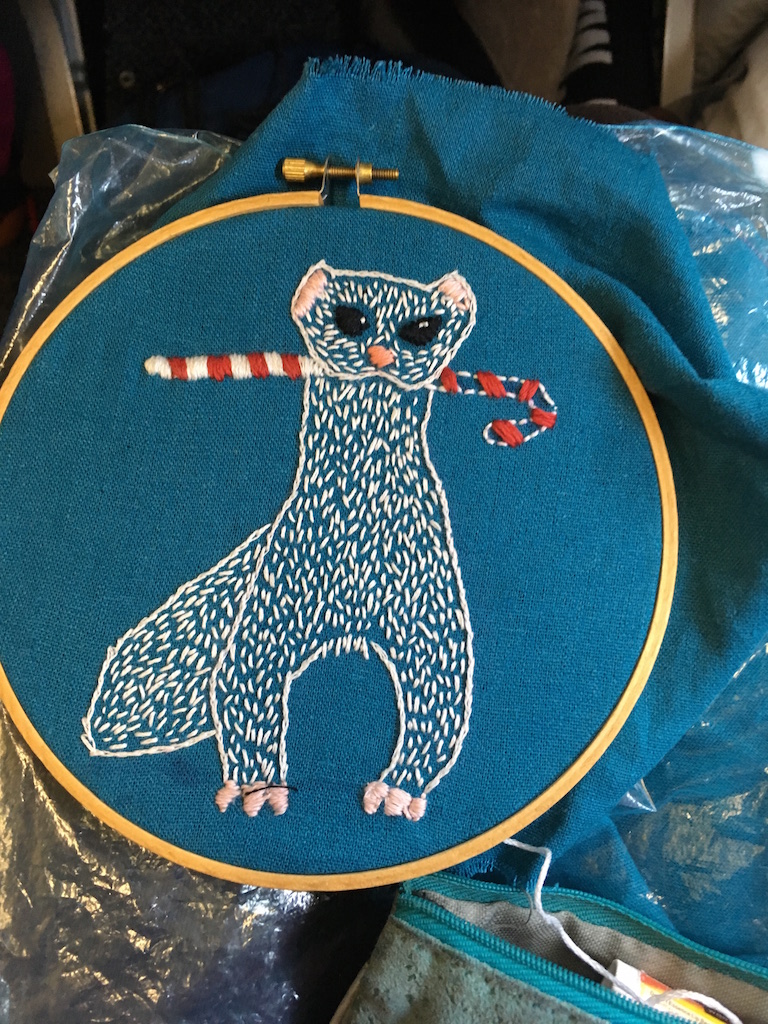
I find just adding a little word describing the critter gives the whole piece more personality. As with the Speed Demon embroidery, I used Google Fonts to get the font that looked just right. And then chalked it in before using simple backstitch for the text.
Finally, I had to close in the back. I managed to vewy, vewy carefully serge the edges with a light-blue coloured thread. Following this post, I used a circle of wool felt to seal in the fabric in the back (got the idea from here) and sewed the circle with teeny-tiny stitches through the fabric. 
The gaps in the fabric are where I didn’t leave enough room for a decent border. Always a next time. Now I really want to get me a designer label to put on all my handiwork!