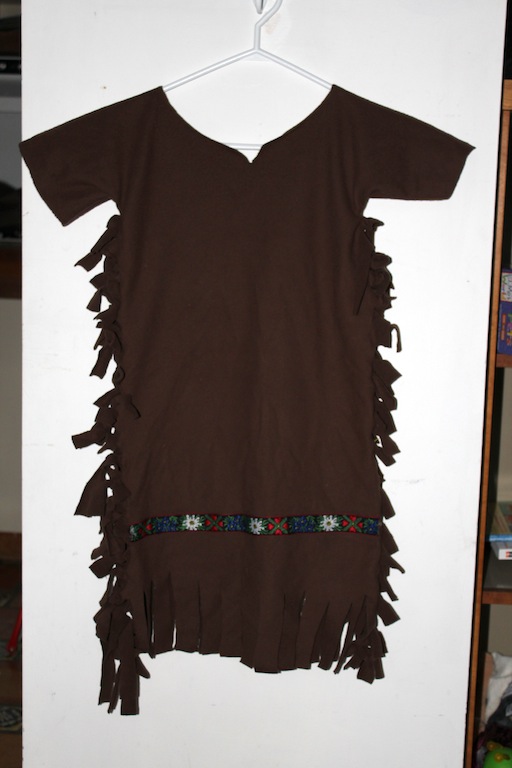
This is an quick-to-put-together costume of an “Indian Princess”. It requires sewing in only one spot, and this can easily be done by hand. I put it together for my 6 year old for a community New Year’s party with a Western theme. The design idea is from this Jo-Ann craft video, but I made some changes after my first attempt was a bust. Here I describe what worked:
Equipment and materials:
- 1.5 yd fleece (60″ or wider, mine was 68″)
- 1.5 yd trim
- Fabric glue (not regular glue!)
- Fabric shears
Kid measurements needed:
- W = shoulder-tip-to-shoulder-tip , the widest part of the body
- H = shoulder-to-knee
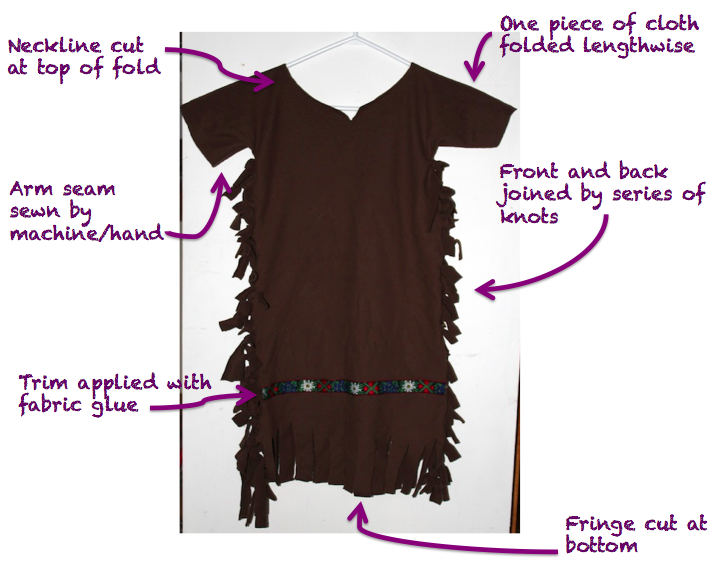
Here we tie fringes into knots to form the seam along the length of the body. The instructions below assume a 4″ fringe. It also assumes there is no right/wrong side of fabric. Write to me if your fabric does and I’ll help you out.
Here is a rough idea of the construction:
Steps:
1. Cut rectangle of dimension (W + 8″) x (H+4″)
2. Fold fabric in half lengthwise. This is your front and back. Cut fringes down one side of the fabric. Fringes should be 4″ long, and 1″ apart. For each fringe, knot the strip from the top and bottom layer (see Jo-Ann video above). Note: If your child knows how to tie double knots, they can help out here!
3. Repeat step 2 for the other side of the dress. The sides of your dress are now complete
4. At the top (the fold), cut a hole. For a 6 year old, roughly 6″ inches across and 1″ at the widest. Cut a slit at the widest for the distinctive neckline.
5. Sew the sleeve seams. Turn the dress inside out and sew seams. I guesstimated a 5/8″ seam. Trim excess seam fabric.
6. Turn right-side out. Cut fringe for bottom of dress. Same as before, 4″ long, 1″ between fringes.
7. Using fabric glue, apply trim roughly 2″ above the fringes.
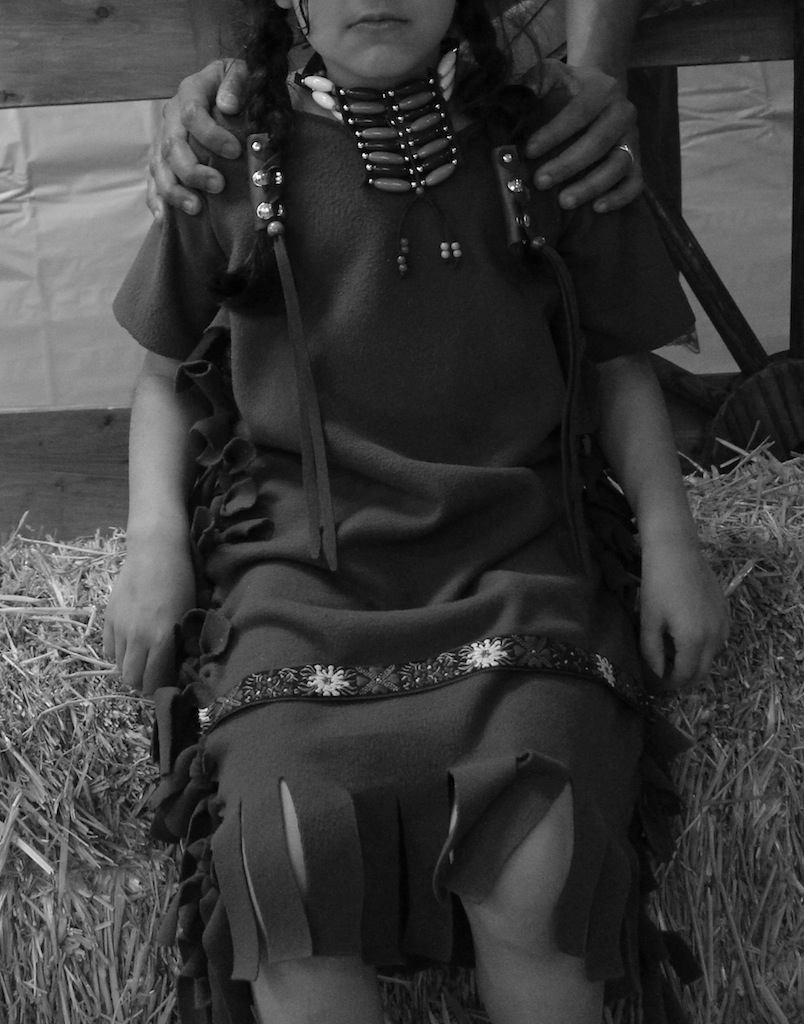
Easy peasy! And here is a shot complete with necklace and leather braid ties from the party store.