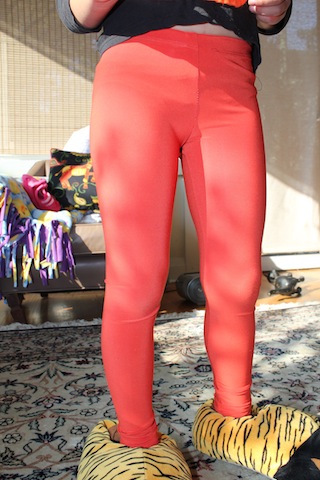
Leggings! They pair well with tops, tunics, dresses and skirts. They can be in so many lovely colours. Having sewn mostly woven (non-stretchy) fabric, I wasn’t sure about sewing with a knit fabric that is supposed to have a snug fit. Still the temptation was too much, and I took one of Karyn’s fabulous classes on sewing leggings (at the workroom in Toronto). Well! It was a perfect introduction to sewing knits with the serger and the leggings themselves came together VERY quickly. I managed to come home with TWO pairs of leggings, one for myself and one for my six-year old. And then sewed a pair of orange leggings over a Friday-Saturday, for my daughter’s tiger costume. Score! Four (four!) more leggings will be forthcoming before the cold gets colder: in tan, (two) chocolate, and plum.
Okay, so I was good about taking pictures as I started making the orange leggings, so this is what I will describe here. We used this Jalie leggings pattern, great because it goes from size 2 to XL women’s. Here are the steps:
1. Pick a fabric with the right stretch. All knit patterns I’ve seen have a stretch-o-scale graphic. You hold a given length of fabric, and then stretch it out to the end of the black arrow. If the fabric stretches up to the arrow, it’s good. Otherwise, look for something else. For the leggings, a four-way stretch is needed; ie the fabric must stretch on the grain and lengthwise.
[ stretch pic goes here]
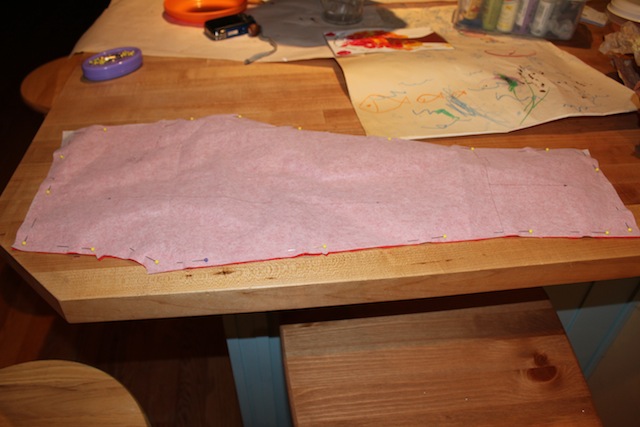
2. Draft pattern & cut fabric: I highly recommend tracing the pattern onto Swedish tissue paper so the original can be used to sew leggings for your future self and your great-grand children. Very easy, just one pattern piece (cut two). For my daughter’s pattern I made a single piece consisting of the legging and the stirrup; I recommend adding the stirrup anyway because the extra length won’t really be a problem, while a shorter legging may not be as nice. Here is the cut out fabric pinned to the fabric:
3. Thread and adjust your serger. Yes, we use a sewing machine and a serger for this project. We want all 4 threads, um, threaded – so both needles are needed. We are serging a stretch fabric, we want to use special stretch needles. Finally, the differential feed will need to be increased (on the Bernina it’s around 1.5); be sure to test by serging on a test scrap. 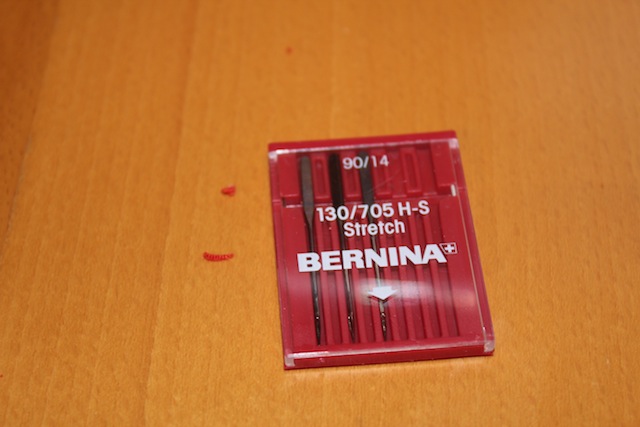
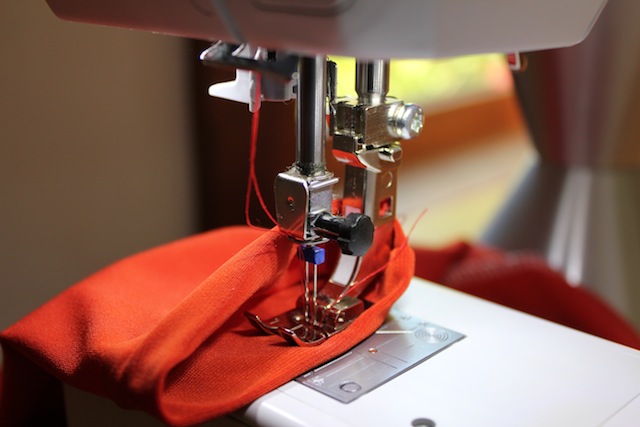
3. Serge central seam: Pin the two pieces RS-to-RS and serge
ONLY the curves. You can see the white serging on the two edges of the fabric there.
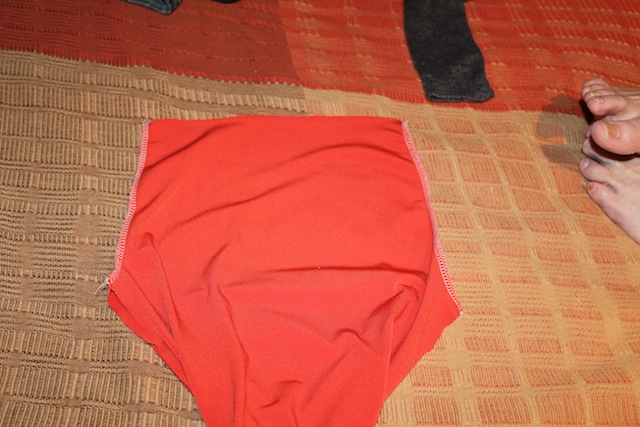
When you open it out, it’s an “Aha!” moment. Really, each of the pieces you cut out fits a respective leg. What we just did above was sew the central seam.
4. Pin the legs closed. Here is a picture of the opened up legging, but where the leg pieces have been pinned. Now it’s a single, large U-shaped serge that goes from one ankle, up to the crotch, and down to the other ankle.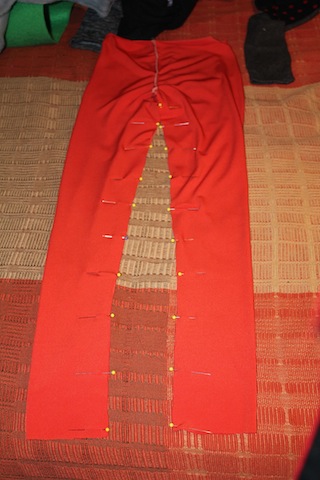
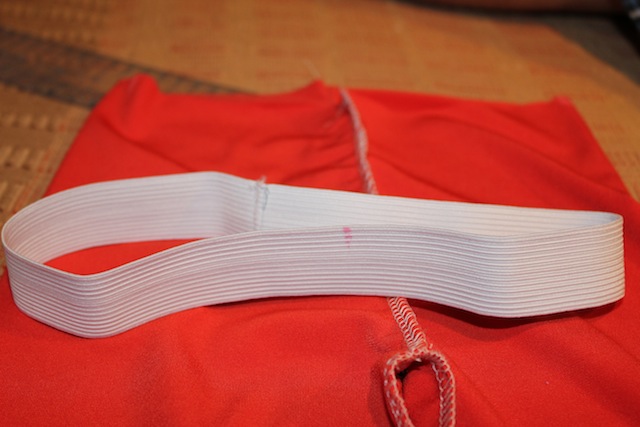
5. Prepare and sew one edge of elastic waistband. For this we need a 1″ width non-roll elastic. The regular/non-roll dichotomy is important here because we don’t want the elastic twisting within the waist band. Here is the elastic, closed into a circle:
and here it is, pinned to the waist portion of the fabric. For this, first mark quarters on your elastic using chalk. Do the same on the leggings. Then pin the top edges of elastic and fabric, matching the corresponding quarters, and matching the seam of the elastic (where you sewed it into a closed circle) with the back seam of the leggings. The front and back aren’t so distinguished on this pattern, I just picked whichever side looked roomier.

Now serge around the top edge in a circle, pulling the material taut – but without undue stretching of the elastic – to secure the elastic’s edge to the fabric.
That’s it for the serger. Now we move to the sewing machine.
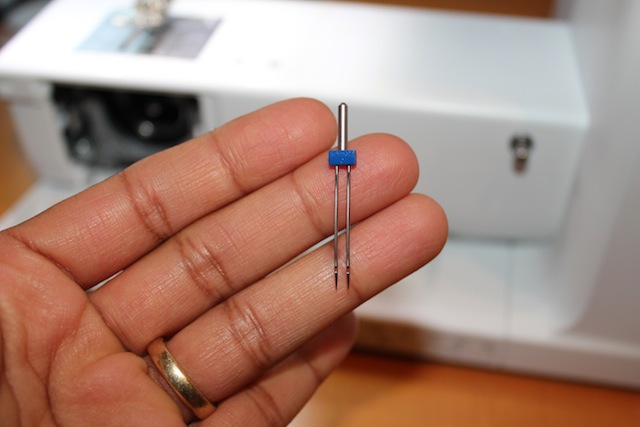
Intermezzo: The Twin Needle
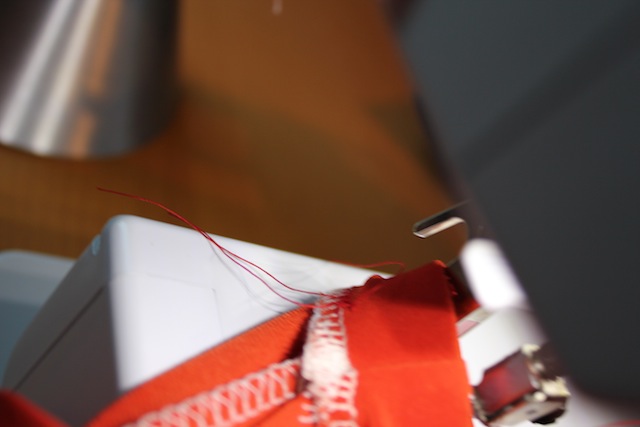
I was introduced to the twin needle with this project. The twin needle creates two parallel stitching lines. It is used to sew tidy hems on knit fabric. This is what it looks like:
 The twin needle also requires two threads loaded on the sewing machine. Both threads come from above. To keep them apart in the tension discs, you thread each on either side of this tension disc.
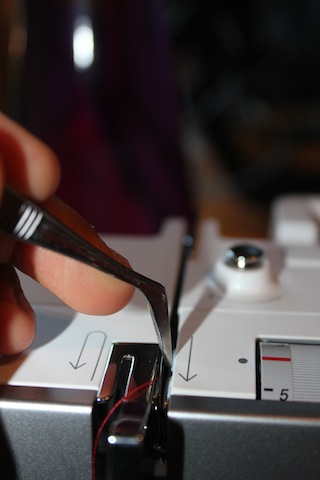
For example, here is the thread #1 on the left side of the tension disc:

and here is thread #2 on the right side of the disk. I use a pair of forceps to gently push the metal plate to one side or the other.
Thread #1 runs off the regular spool and connects to the bobbin. Thread #2 can be an entirely new spool of thread loaded on the normally-unused-and-out-of-the-way vertical spool holder. OR, as in my case, it could just be an extra bobbin loaded with some of thread #1. I loaded the bobbin about 25%. 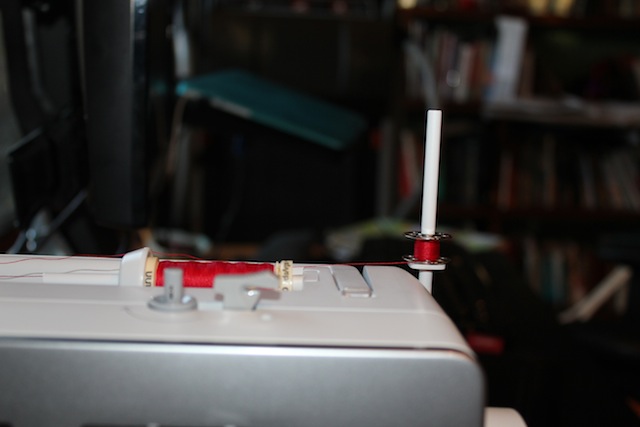
The last thing to note about twin needle sewing is that there is no backstitching. Instead, you start stitching, sew forward until the ends clear the presser foot. Then, as the fabric is still clamped under the presser foot, you pull the threads that were on the outside of the fabric to the back. Once all 4 threads are at the back, you tie them off, much like you would in a dart. When sewing in a circle (hem for ankle, waist etc., )
Remember to tie off the threads at the “start” of the circle before you make your way all the way around with the “end” of the circle. Otherwise you will spend a lot of time separating threads at the back. And it will be hard because you will have sewn over the threads from the “start”. You have been warned (I made this mistake almost every single time).
Good. Now we and the twin needle are more or less at peace.
Oh – and it’s nice to have a walking foot for even feed of the fabric (so it moves through smoothly instead of being bunchy). But those are expensive, so I just used my regular presser foot. It wasn’t bad at all, just had to pause more often than I did during class.
6. Sewing elastic band. Now that we have our twin needle loaded, sewing the elastic in is a, well, a cinch. Fold the top of the legging over the elastic so it’s inside the fabric. Pin. Sew the bottom edge of the elastic to the fabric waistband with the twin needle. At the end of this step our elastic waistband is secured to the fabric, both at the top (serger) and bottom (twin needle).
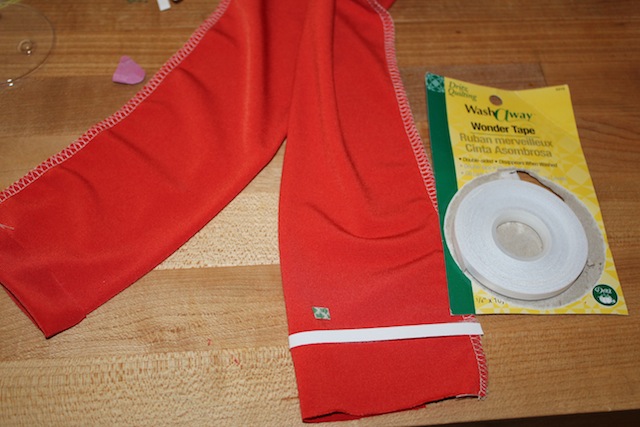
7. Close the hem of the ankle with Wonder Tape! Ironing the hem of a rolling, stretching fabric seems like a Sisyphean task. Wonder tape is an adhesive that can be used to stick ‘up’ the hem of the fabric. It holds the fabric in place and dissolves away in the first wash.
Here is a view of the ankle with the wonder tape on:
8. Finally, use the twin needle to sew the hem. For smaller sizes, you may need to sew on the inner side of the ankle circle:
And that’s it! So the work in this project really lies in knowing how to serge, and work with the twin needle. Once you know this, whipping up new leggings is actually relaxingly easy. Will post pictures of the upcoming leggings as they are made.
Now if only I could find them in fleece-lined fabric that’s natural and good for winter months.

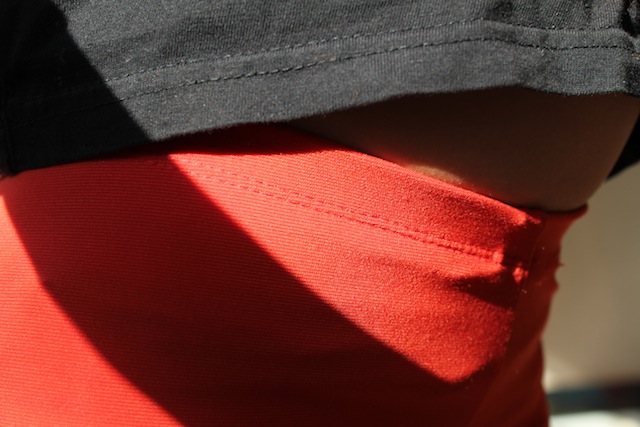
Detail on twin stitch at the waist